
Free Coloring Book Maker: A Practical 2026 Guide
Turn loose drawings, family photos and favorite printables into one tidy PDF. Here is how to make a book that prints well and is easy to staple at home.
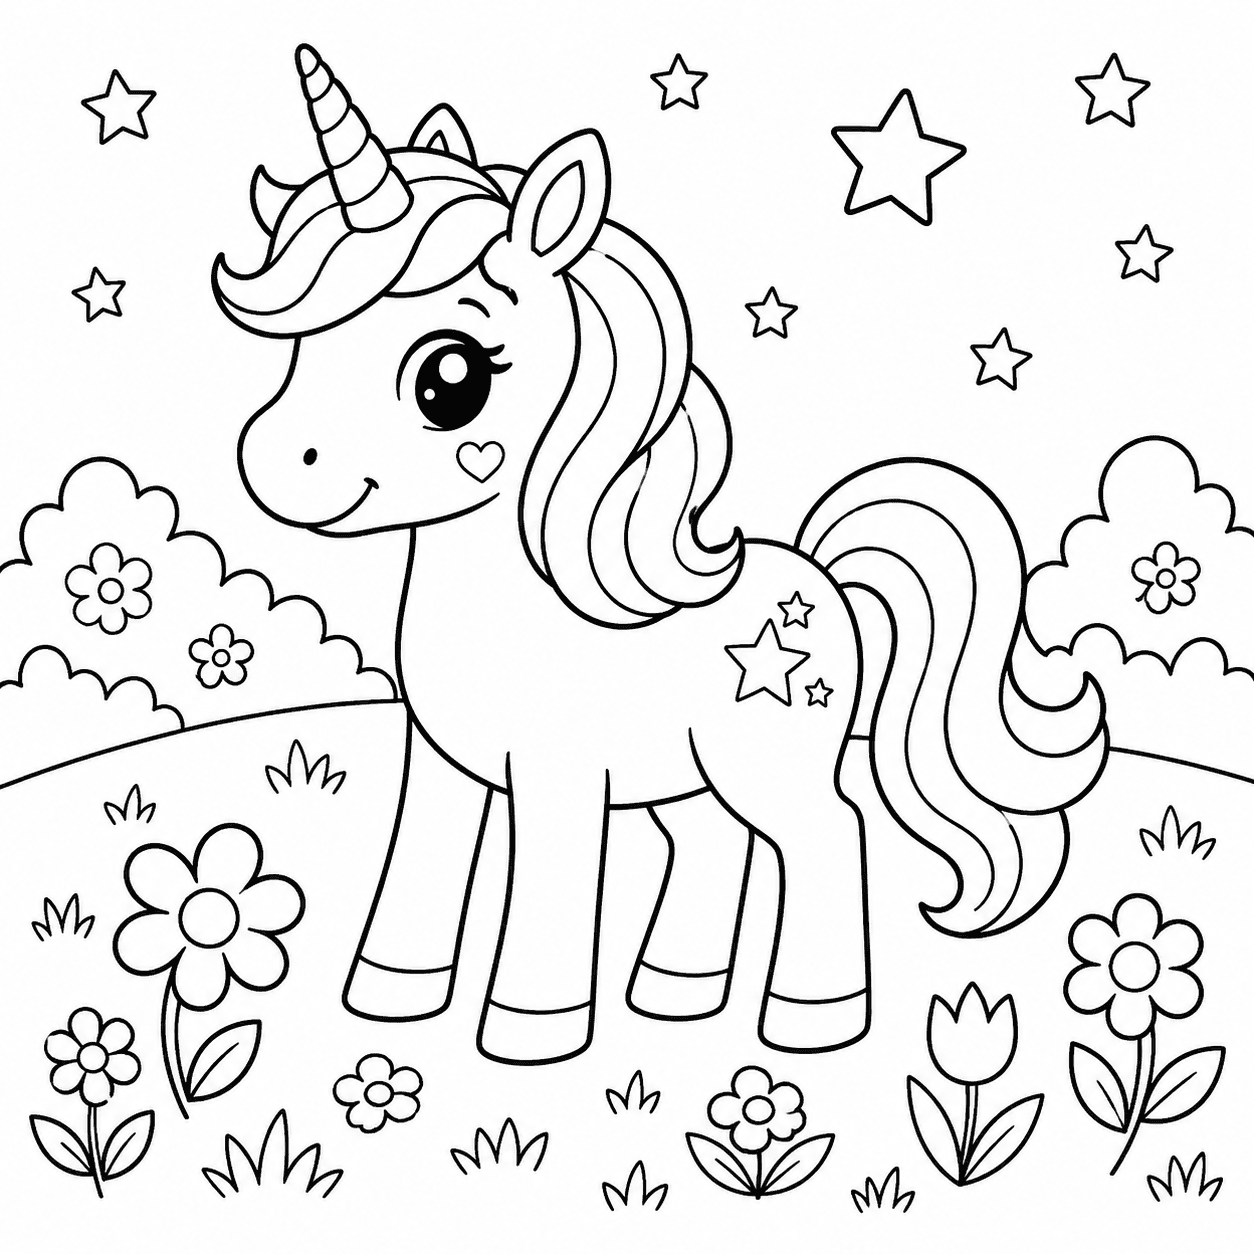
A homemade coloring book does not need to be a publishing project. Ten good pages, a simple cover and two staples are plenty. Our free coloring book maker puts the pages into one PDF, which is much less fiddly than opening and printing every image separately.
You can use scans of a child’s drawings, pictures you have turned into line art, or sheets from our printable library. Everything is assembled in the browser, so personal family pictures are not uploaded. The finished file can hold up to 30 pages.
Start with one small idea
The nicest books usually have a reason for existing. A grandparent book made from a year of drawings feels different from a random stack of pages. So does a six-page dinosaur booklet tucked into a party bag. Pick the idea first and the page choices become much easier.
- A short book about the family pet, made from photos converted to coloring pages.
- A holiday travel pack with familiar characters and a few easy pages for tired moments.
- A birthday book with the child’s name on the cover and one copy for every guest.
- A keepsake that collects drawings which would otherwise stay loose in a folder.
Prepare the pages before you add them
Portrait-shaped images sit most naturally on portrait paper. A landscape drawing will still fit, but it may leave a lot of white space above and below. Crop out the kitchen table, scanner lid or dark edge around a photograph first. If you still need line art, make the pages with our photo-to-coloring-page tool, download them, then bring the finished images back to the book maker.
Choose settings for the way you will bind it
A4 is the straightforward choice in most of Europe; US Letter is the usual home-printer size in North America. Use a wider margin if you plan to staple or punch holes along one side. Page numbers help with a classroom set, but a small child’s personal book often looks better without them.
Put the pages in a kind order
Drag the pages into sequence before downloading. We like to begin with something welcoming rather than the most detailed picture in the set. Put a couple of easier pages between the busy ones, especially for younger children. If the book tells a story, arrange it now; rearranging paper after printing is how page seven ends up upside down.
A simple finish is enough
Print single-sided if the book will be used with markers. Stack the sheets, tap the bottom edge on the table to square them, then add two staples along the left side. Heavier paper makes a sturdy cover, but ordinary copy paper is perfectly good for the inside pages. Write the year on the back. That small detail becomes surprisingly useful once several homemade books have accumulated.